theraineysisters knitting and so much more

February 10, 2007

From Susan — A Quick Tip

Filed under: Knitting Tips — lv2knit @ 1:37 pm

Sally and I have both commented on adapting patterns to gauge — most recently Sally mentioned that she needed to adapt the sleeve cap on her Berry Cluster Pullover because her row gauge was slightly different than the pattern.  We have provided a link on our blog to an on-line source for creating free Actual Size Graph Paper.  I find this very useful for regauging knitting projects.  I’m teaching a finishing class tomorrow and developed the following handout to help illustrate HOW to make these adjustments, so I thought I would share it here:

Example: Adapting a Sleeve Cap with Actual Size Graph Paper

Just thought some of you might find it useful.

February 6, 2007

From Susan — Pure Magic

Filed under: Knitting Tips,Oregon Cardigan — lv2knit @ 9:02 pm

Man, I’ve been toughin’ it out with my Oregon sleeve lately and have had some “issues” — today, issues resolved! 

I described the way I do my fair isle sleeves using the “magic loop” method.  My method has been less than magical.  You need a very soft, pliable cable to do the magic loop method.  Addis have changed their cable over the years (their timing sucks, btw) and it is now very stiff and unbendable.  For most of my fair isle knitting, I use US 3’s and have them coming out of my whazzoo (sp?).  However, A*St*rm*re yarn is heavier and so I am using a US 4.  All my US 4 needles have the stiff cable except my 47″.  That is just WAY too much cable to deal with!  I have been on a quest at my LYS’s to find a better needle and finally found an older Turbo with the old, softer/thinner cable.  I could probably have ordered needles from KnitPicks, but thought I would shop around first.  I know that Inox has some (out of production) and Susan Bates (not in the size or type I needed), so I hunted.  The difference with the new needle is truly amazing and is making my knitting SO much easier!!

MAGIC LOOP
I know many of you know this technique, but a couple of readers asked for details.  Here is the single loop method:

OregonSleeve001.jpg

I simply pull the excess cable length between two sts about halfway around from where I am.  I knit to the loop and then pull the excess out half way around again, etc.  When the sleeve gets too small for the needle tips to feel comfortable, I switch to a modified double loop.  In standard magic loop, you pull out the RH needle, form a loop, and then knit across the cable:

OregonSleeve002.jpg

I don’t care to strand (or plain knit for that matter) across the cable.  It is difficult to maintain stitch size and just feels WRONG.  My modification is to pull the second loop out a few sts back on the RH needle.  Therefore you are always knitting and stranding across the regular needle tip:

OregonSleeve009.jpg

This picture shows how it looks when the sleeve gets very small, toward the cuff (I’m not there yet!).  You continue to knit on a long-tipped needle (unlike a 12″ circular with itty-bitty, short tips), you get the benefit of the magic loop AND you strand across a regular needle (not a dpn).  When I get to the first loop, the other loop is already positioned about halfway around, so I pull the second one a few sts back from the RH tip.  I keep going in this way for the whole sleeve.  I hope this makes sense and is not too technical and boring ;). 

I will use the 32″ ‘ for the entire sleeve since they did not have a 24″ with the thinner cable.  I am on a roll, my knitting peeps!

February 4, 2007

From Sally — Berry Cluster Pullover Update

Filed under: Knitting Tips,Sally's Berry Cluster Pullover — Sally @ 12:55 pm

Am I the only one who gets bored at the start of the second sleeve? That’s where I am on the Berry Cluster pullover. I was hoping to be at the “sewing pearls on the clusters” stage of the sweater today, but I am not. Part of the problem, besides the fact that I am a slow knitter, is that I needed to pick up the neck three times and knit it twice.

The directions have you pick up about 90 stitches around the neck, which means that you can’t leave live stitches on the back and front necks because you would have far too many stitches. I picked up the neck as instructed, knit a few rows, and didn’t like how it looked. It was too obvious where stitches were skipped on the pick up. (I don’t have a photo of this.) I think it probably works fine if you use the fuzzier yarn called for in the pattern, but with my very smooth yarn there was nothing to hide the pick up.

On attempt number two, I went ahead and picked up into every stitch on the front neck. The pick up looked much better, but I knew there would be too many stitches and the neck would be too wide. I tried to compensate for that by having a series of decreases at four places around the neck (evenly distributed with respect to the shoulder). The neck looked fine, but it was still too wide at the very top.

I had two main options at that point. The first option was to start again with the higher number of stitches, but do more decreasing. I realized that to make the decreasing work, I wouldn’t be able to restrict the placement of the decreases the way I had on this attempt. I was afraid that decreasing at even intervals all around the neck wouldn’t look very nice and I decided I was too lazy to figure out a decorative decrease placement. The second choice was to pick up the specified number of stitches, but find a way to hide the pick up. So, I did the pick up again and then immediately did a purl row.

I think that worked fairly well.

A side note re the sleeve cap:

Because I am using a finer yarn than called for, my row gauge is “off.” Instead of 28 rows per 4 inches, I am getting closer to 31 or so. That’s not a problem for the most part because the pattern gives most of the directions in inches (e.g., 8 inches for the armhole). However, on the cap directions for the fitted sleeve, the directions are given for a set number of rows. If I followed the directions exactly, I would have had 55 rows total in the sleeve cap, which would be the 8 inches needed if my row gauge was correct. However, I knew that I had knit 64 rows from the first armhole decrease to the shoulder. With 55 rows, my cap would have been too short. Knowing that in advance, I slipped in a few extra rows here and there so that I had a total of 62 rows. I basted the sleeve into the sweater to make sure the sleeve length was right and the cap fit perfectly. Because fitted sleeves can be tricky, I think it always pays to look carefully at the directions for both the sleeve and the body to make sure that you compensate for any gauge issues.

Oh! I was going to save the yarn I used for my first neck attempt and use it for sewing. I’m not going to now. Here’s why:

(This is Eightball, a Chihuahua puppy who visits us occasionally and apparently can tell the expensive yarn from the cheap stuff.)

January 27, 2007

From Susan — Tip Enhancement

Filed under: Knitting Tips — lv2knit @ 1:44 pm

Auntie Ann commented on my post about using a smaller needle to pick up a row/round of sts before ripping out.  She makes a lot of socks and therefore doesn’t really have a knitting needle two sizes smaller, so she uses a small tapestry needle with waste yarn to pick up the sts below the mistake before ripping out.  I often use a tapestry needle with waste yarn as a st holder, but I don’t think I have used it for fixing mistakes on small gauge projects.  Thanks for the tip enhancement, Auntie Ann! 

January 24, 2007

From Susan — A Knitting Tip

Filed under: Knitting Tips,Oregon Cardigan — lv2knit @ 12:32 am

I discovered that I had made a bit of a tactical error with Oregon and therefore had to rip back a few rounds.  It’s not a big deal if you know the “secret.”

I was teaching a class on fair isle and one of the students made a mistake several inches back.  She un-knit every stitch — several hundred per round — round after round!!!!  It took her hours and hours.  When I told her the secret to ripping out fair isle, I don’t know if she wanted to slug me or hug me!  I’m sure many of you have used this technique before, but if not, you may find it useful.

Take a circular needle ~2 sizes smaller than the one you are using and pick up the sts through a row/round that is easy to follow.  I am showing it on Rona because it is so darned easy to see.  On Oregon, I chose the last round before a color change.  Starting at the center steek (or beg of rnd), pick up all the sts* in that round.  Then pull out the needle (Note: here I mean the needle you are actually knitting with, not the one you used to pick up the sts) and unzip the sts.  Be careful to untangle the yarn as you go if you want to reuse it.  Sometimes it is worth going back a couple of extra rounds if it makes following a stitch line easier.

Rona.jpg

I use this technique on regular knitting as well.  You just need to make sure you are following the stitch line carefully.  It is the technique I use for shortening sweaters.

So now I’m back a few rounds but happier!

Looking at Rona so close up leads to comparisons with Oregon.  The new A*ice S*ar*more yarns are much nubbier and therefore do not yield as smooth and even a fabric.  The gauge is bigger, too (28 sts/inch vs 30).  Overall, it has a coarser, thicker appearance.  I hope it improves with blocking!

PS (to Marina) — I do not transfer the sts to the “real” needle — I just start knitting with the larger sized needle on the next round.

* Also, I should add some detail about “picking up” the sts: working from right to left, insert the tip of the needle into the right half of the st as if to purl.

Thank you for your comments and questions!

January 22, 2007

From Susan — Poor Little Moebius

Filed under: Knitting Tips,Oregon Cardigan — lv2knit @ 12:53 am

I took the finished Lace Tam to Amazing Threads in Maple Grove to drop it off and pick up Sally’s Moebius Lace Scarf.  It looked so pretty up on the wall, I took a picture.  I felt so bad for poor dejected little moebius that I wanted to take it out to dinner — fatten it up a bit. 

MoebiusatAT.jpg

My moebius may still get done, but for now I have moved on.  Maybe this spring when the pretty color of the KSH and the warming temps re-ignite my moebial inspiration.

RE: the Lace Moebius (Fibertrends pattern AC39).  Since I did not get a chance to share this tip with the class, I will share it with others who may be thinking of making this scarf.  It involves the cast on.  I know many of you use the Cat Bordhi cast on method for doing moebius projects of all sorts, and it would probably work here as well.  However, the pattern comes with its own instructions and the buyer of the pattern may not have the Cat B. book OR the desire to use her cast on method.  Click this link to read about my tip under Knitting Tips. 

I worked on Oregon quite a bit and am now at the NECK SHAPING.  Progress – slow, but sure.  The original Oregon is a v-neck cardi, but I am doing something a bit different with standard neck shaping. 

I really have a hankerin’ for something new.  I have a couple of ideas in mind.  I am torn because on the one hand, you can only make progress when you stick to one thing, but on the other hand, you get bored and enjoy your knitting less.  It is a dilemma.  Knitting is a hobby and my passion and is supposed to be done for enjoyment.  When it becomes boring and drudgery — that does NOT sound enjoyable to moi!  However, I also REALLY enjoy the feeling of accomplishment when I finish something.  Therein lies the dilemma. 

Note to self: don’t think about it too much or your head will implode.

January 20, 2007

From Sally — The Blue Shimmer Is Finished

Filed under: Blue Shimmer,Knitting Tips — surly @ 11:43 am

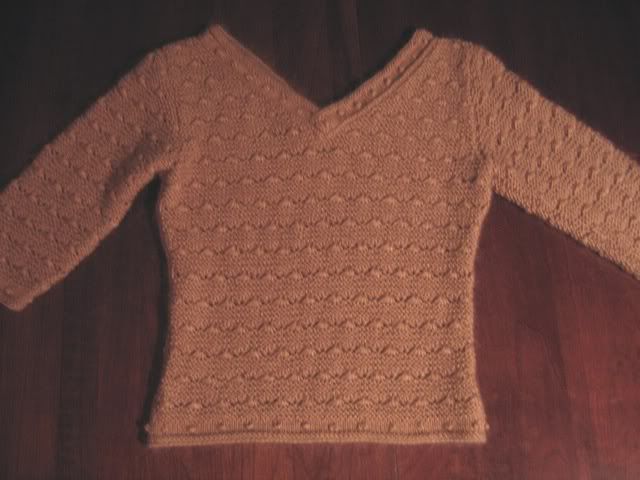
I’m wearing it as I type this post. It’s a cold, windy day here in Washington, D.C. and the Blue Shimmer is soft, cozy, and warm. It looks beautiful, too, although my sad attempt to take some photographs of it this morning won’t show it off to best advantage.

I’m even going to violate my usual role of no modeling because the way that these Bohus/yoke sweaters drape so nicely over the shoulders is an essential part of the look and fit, and you just can’t see that when they are on a hanger or lying flat. My daughter/model is not home and I just didn’t think I could talk my 15-year-old son into slipping it on, even if he is still half-asleep. (*Takes deep breath as she prepares for self-humiliation.) So, without further ado, here are some photos:

I’ll work up to the modeling gradually by starting with my hand.

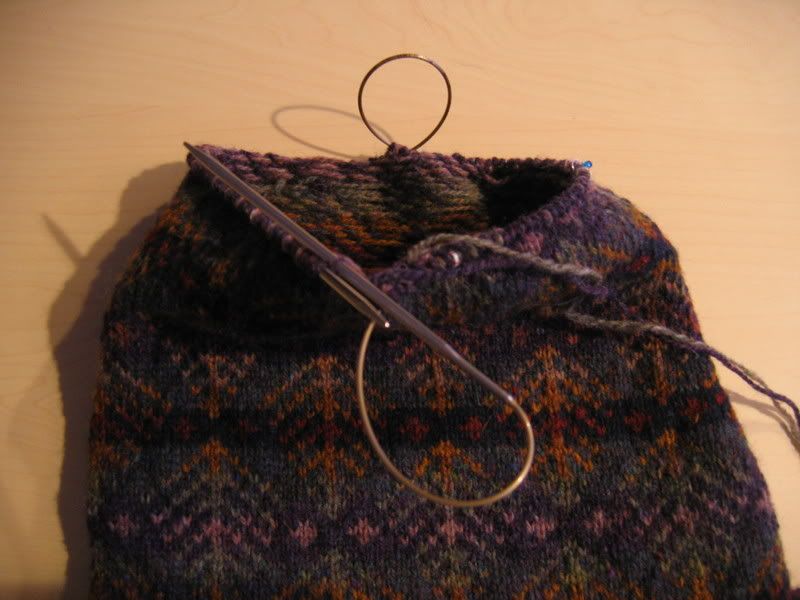
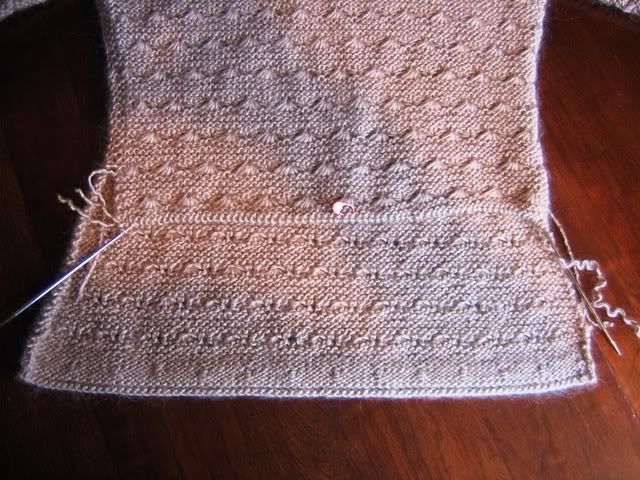
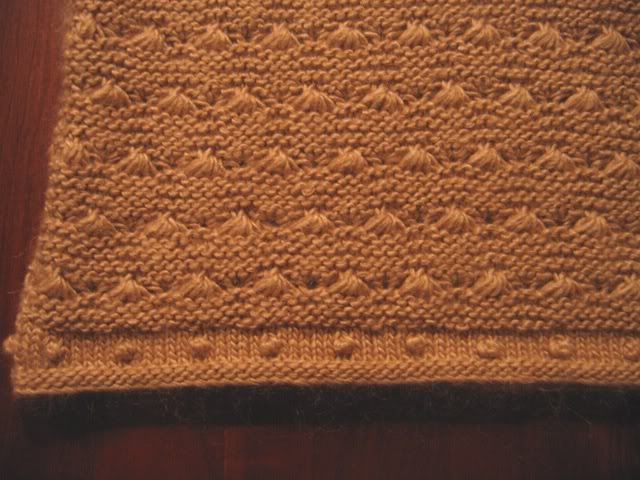
Lying flat, which doesn’t show it off but allows you to see the color I added at the hem of the sleeves and body. (The pattern called for ribbing.)

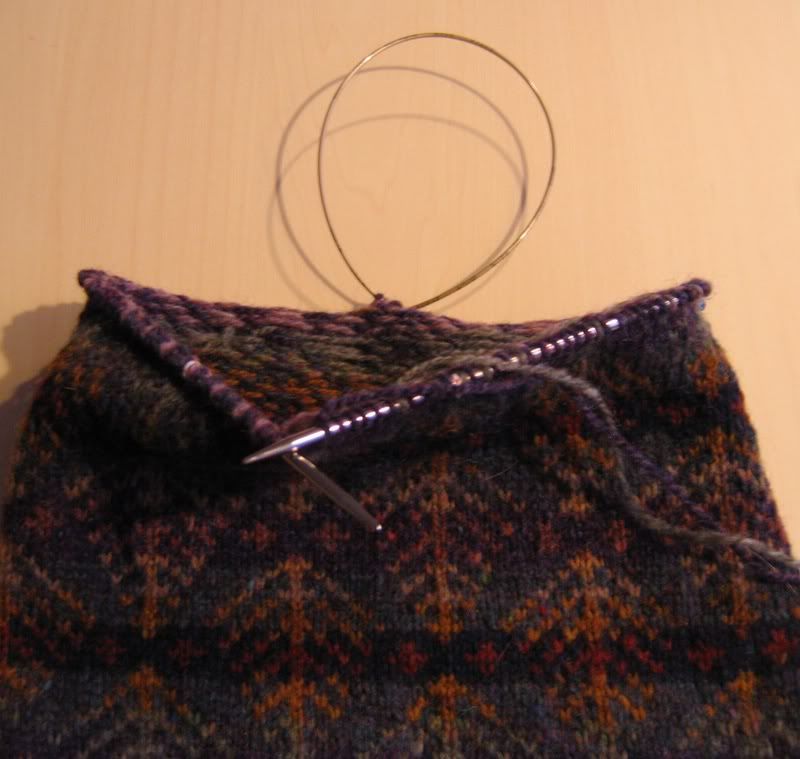
Here is a close up of the yoke.

And finally, my self-portrait.

Pretty artsy, eh? What can I say? I was the only one here besides aforementioned half-asleep son so I had to take the photo myself.

I’d like to add one additional comment about knitting Bohus sweaters. In the book, Poems of Color, the directions suggest using a US 3 for the unpatterned parts of the sweater (sleeves and body), a US 2 for the patterned area (the yoke), and a US 1 for the ribbing (which I didn’t knit). In my experience, the needle sizes suggested for the patterning and the plain knitting should be reversed. The reason is that most knitters will find that their plain stockinette knitting is “looser” than the fair isle-type patterning called for with the yoke. If that is true for you, and you use a larger size needle for the plain area, the problem will be compounded and your sweater will tend to balloon out when you hit the body.

Therefore, I knit the yoke on a US 3 and switched to a US 2 for the body and sleeves. For me, the results were perfect in terms of gauge. From my quick glance at the directions in my new Swedish kit for the Large Collar, it looks as if those directions use the same needle for the yoke and body (with a smaller needle for their ribbing). Again, I will adjust and go up a needle size on the color work. Those directions have you split the sweater after the yoke, so that the body and sleeves are not knit in the round but back and forth. That can also affect gauge. I plan, when I eventually get to that sweater, to knit it in the traditional Bohus way: completely in the round.

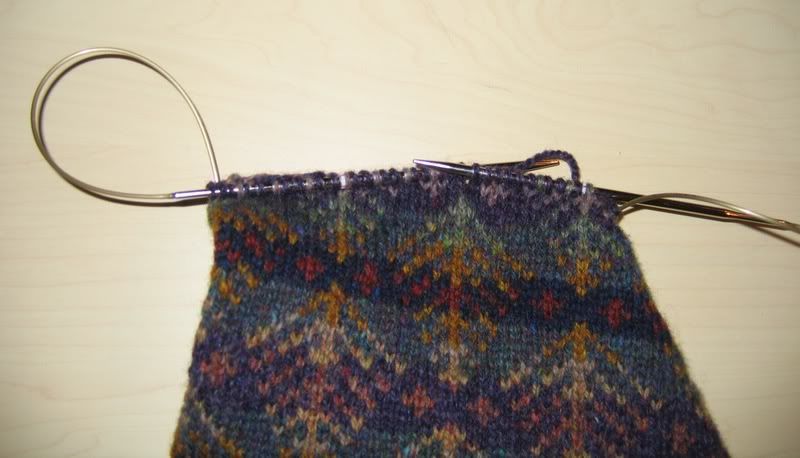
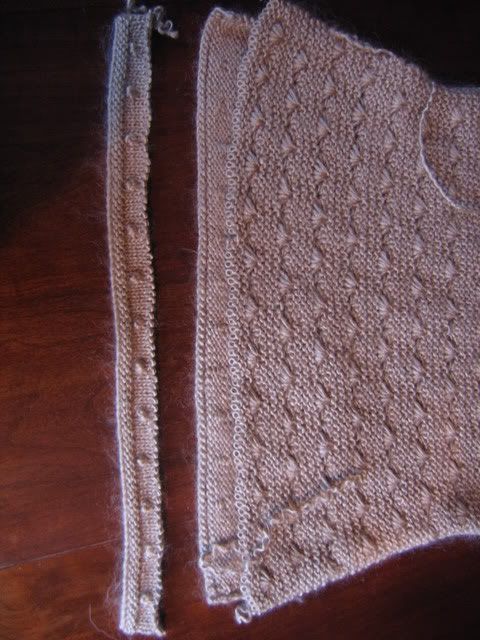
My Blue Shimmer has no seams. None. Once you finish the knitting, there is minimal finishing work and the sweater itself fits wonderfully and is very comfortable. I personally see no benefit to adding seams, although everyone’s view is different. Here is one last photo, showing the underarm of the Blue Shimmer so that you can see what I mean by no seams.

January 11, 2007

From Sally — The Blue Shimmer

Filed under: Blue Shimmer,Knitting Tips — surly @ 11:20 am

I’m moving along fairly well on The Blue Shimmer, motivated by my cameo colored Royal Alpaca. I’ve finished the body and redone the neckline. The original pattern calls for several inches of ribbing at the sleeves, hem, and neckline (with the neck ribbing folded in half and stitched to the inside). I didn’t want to do that for several reasons. First, I think it’s a dated look, at least for me. Second, I didn’t think that the ribbing looked very good. (I tried the ribbing for the neck, although I had it folded to the inside in the first photograph I posted of this sweater.) The way the yarn changes thickness made my stitches look so uneven. They still look uneven in stockinette, but that was exacerbated in the ribbing. Finally, I wanted a wider neck opening. (Side note: the original sweater is knitted in light blue yarn; I changed it to cream because I knew I’d like it better. So mine is already not quite a blue “blue shimmer.”)

So, my solution was to adapt the last pattern of the yoke for the hemline. I’ll also use that at the sleeves. Here’s a photograph of the hem, which hasn’t yet been stitched down.

As you can see, it echoes the patterning of the yoke.

This photograph also shows that I’ve cut off the neck ribbing and changed it to a picot foldline. How do you do that, you might ask. Well, very carefully. Because this sweater is knit from the top down, I had to cut the ribbing off because you can’t unravel from your cast on edge. Before I cut, I took a needle that was one or two sizes smaller than the one I was knitting with and very carefully threaded it through each stitch, making sure I was following the same row all the way around. I then cut off the neck a couple of rows above that needle to get it out of the way, and then snipped and picked out the last row before the one I had picked up. ???? Here is a photograph to show what I mean.

In this picture, you can see the cord of the needle going through the stitches of the row I am “saving,” and the yarn being held by my thumb is what I am cutting and removing.

Finally, in this photo of the entire sweater, you can see the ribbing that I cut away by itself off to the side.

The yarn from Sweden, which Susan and I will use on our Large Lace Collar sweaters, is much more even in color and texture; I hope that this sweater looks better once it’s blocked. (I have perfectionist issues.)

Edited to Add: A wave and hello to the Clack House (a members-only Clay Aiken fan site), from whom we have gotten a number of referrals. I’ve heard that you have started a knitting and crocheting thread and that some of you have been kind enough to mention our blog. I wish I could post in your thread, but alas I’m not a member.

October 6, 2006

From Sally — Answers to some questions

Filed under: Knitting Tips,Uncategorized — surly @ 3:34 pm

Hi. I’m responding to some questions posted below. Ali asked:

“I can see that the provisional cast on on the sides would be a great improvement when it comes to the side seams. The jacket I did had shaping on the sides as well, so there were multiple cast-ons. I’ve yet to tackle the provisonal cast-on but want to try it. Would it work when you have a staggered edge rather than a straight one? Seems you might end up with a whole lot of loose ends, losing the advantage of the better seaming.”

You’re right – the provisional cast on works better if you aren’t doing multiple cast ons (for shaping), unless you want to cast on all of the stitches at once and then “activate” them according to the instructions (the cast on numbers) using short rows. You will end up with a bulky and awkward seam if you do it the way that Debbie Bliss suggest, esp. if the pattern is using a heavier yarn. I know this from experience. I knit her Lara sweater following the original instructions (except for the way the collar was done; I didn’t want a seam in the middle of the collar). I regret having done it that way because the seam is unattractive and I don’t think that the underarm shaping (meant to give more of the feel of a fitted sleeve) added all that much. It certainly wasn’t worth the seam issue to me. So I would either forego the staggered cast on and cast on all of the necessary stitches at once or cast them all on at once and use short rows to get the desired shaping. (That way you still get the benefits of the provisional cast on.)

Here is the Lara sweater I’m talking about. (Not a photo of mine; mine is in Minnesota with Susan because I asked her if she could do something to make the seam more attractive!

My favorite provisional cast on is the one using a crochet hook that allows you to place loops on your knitting needle. Here are some illustrated instructions:

Crochet cast on I crochet a few loops before crocheting over the knitting needle, however. I find it easier to get going that way. Once I have the number of stitches I need, I crochet a few extra loops at the end also.

Note: I answered this question assuming you were talking about increases right at the sleeve/body join. If you are talking about staggered increases to give some kind of waist shaping, you could still use a provisional cast on and short row or you might possibly use a provisional cast on and some decreases. I’d have to see the pattern you’re talking about; I’m not familiar with her garter stitch jacket.

Ali also asked:

“Can you explain to me about the Koigu yarn and how that works to track increases?”

It’s simple. I take a length of waste yarn (in the case of my Nina sweater it was some leftover Koigu). Each time I do an increase, I “lay” the yarn between two stitches further into the row so that the waste yarn gets knitted in to the garment. It helps me keep track of how many total increases I’ve done and the spacing is obvious enough that it makes counting the rows in between increases easier. When I don’t need it any more, it pulls out easily.

And Carrie — I forgot, in my comment to your comment, to answer you about the length of the the Nina sweater. I am hoping mine will now be about 28-29″ long after blocking.

September 23, 2006

From Susan — Scalpel, Please

Filed under: Back Story,Knitting Tips — lv2knit @ 9:25 am

Oh, I do like to cut up them sweaters!  Well, kind of.  I do not have an aversion to it anyway.  As you already know, Sally is a wonderful knitter, but there are some things that she defers to me.  She asked me to shorten one of my favorite sweaters of hers.  It’s funny, because she called me to ask if I was working on her gold sweater, and I was at that exact moment in time (she knows me all too well), and then she asked if I would post pictures of the process.

This is Sally’s design, knitted out of GGH Mulberry Silk held with Kidsilk Haze.  The result is a fairly heavyweight yarn.  The design is three-quarter length sleeve, fitted, with the identical v-neck shaping front and back.  She attached the neckbands using a 3-needle bind off.  With a lot of things, however, it is difficult to anticipate the perfect fit during the knitting phase.  The sweater was at least 4-5″ too long to be wearable in the way that she wanted.  The blue marker shows how much needed to be removed.  The color is more true in later photos.

SallysV-Neck001.jpg

The first step was undoing the seams and detaching the bottom bands, which I needed to preserve and reattach. 

SallysV-Neck002.jpg

Then I removed the mid-section that was to be discarded:

SallysV-Neck003.jpg

I ripped out some yarn from the mid-section to use for grafting.  It’s easier to use the yarn when it has been straightened.  I wet the yarn and wrapped it around a glass — it dries very quickly:

SallysV-Neck006.jpg

Then I grafted it back together using garter stitch.  I had to machine sew the side seams because the bottom border was wider than the part it was grafted to because of the shaped waistline.  And voila:

SallysV-Neck007-1.jpg

Here is a close up of the neckline and hem:

SallysV-Neck008.jpg


SallysV-Neck009.jpg

Another patient recovering nicely.  I just love this sweater.  It is very dressy, but would keep you warm for winter functions.  So many times you freeze to death if you need to look nice in Minnesota! 

Adding Kidsilk Haze to a lightweight yarn is a wonderful tip for increasing the gauge.  Sally and I have both made sweaters where we added Kidsilk Haze to Koigu to obtain a worsted gauge.  Here’s an example:

KidKoigu.jpg

By adding the Kidsilk Haze, I was able to knit Koigu at 5 sts per inch and get the softest fabric!  This is one of my favorite sweaters to wear.  The pattern is Emmeline from Rowan Magazine #28.  I never would have noticed it, but someone from the Yarnery knitted it up in the “Kid Koigu” combination and the rest is history.  It is called the Yarnery uniform because everyone there has there own color version.

« Newer PostsOlder Posts »

Powered by WordPress