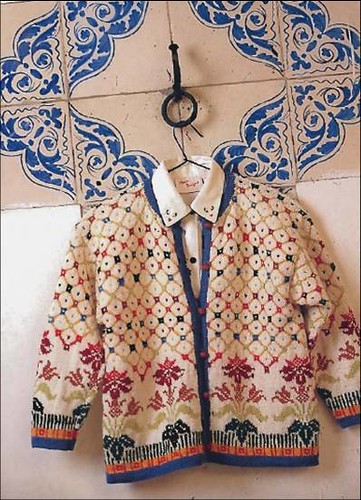
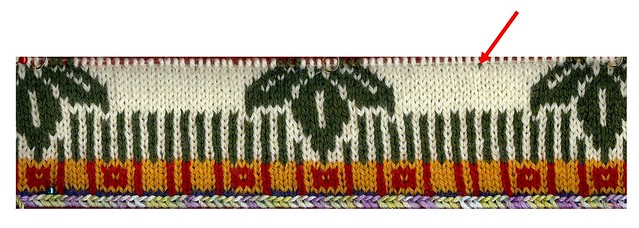
I am waiting for the mail. I am waiting for yarn. I am waiting for yarn for my Dale of Norway 10903. I am feeling really stupid right about now.
Back Story
I suffer from Dye Lot Anxiety. It harkens back to my earliest knitting experiences. My first sweater is a tale of dye lot woe.
In the old days, before great yarn stores and gorgeous patterns (Rowan, Bliss, Starmore), and Ravelry, Twist Collective, etc. there were only two ways to buy patterns (there were probably knitting magazines out there, but I was not aware of them). You went to the yarn store (which carried about three kinds of yarn) and looked through their sad, meager pattern collection OR you saw the design of your dreams in a women’s magazine, like Redbook or Good Housekeeping. If it was the latter, you sent in $3 and a SASE and placed your order. 4-8 weeks later, your pattern would arrive. No color photos (maybe one or two B&W’s), no diagrams, no charts. Lots and lots of tiny little writing. That is how I purchased the pattern for my first sweater. Then off I went to buy the yarn.
I wanted something practical, so I bought white acrylic. I know. However, I did not buy enough white acrylic. I had no idea about dye lots and most cheap acrylic yarns now don’t even HAVE dye lots! So back I went to buy more yarn. The new white was more like gray and very noticeably different. So, I decided to add some red to give my new sweater style and pizzaz. There were lines of garter ridges that did not go all the way across the front until they reached the bustline, so I actually figured out intarsia so I could create a notched area (it is in the gray-white yarn):
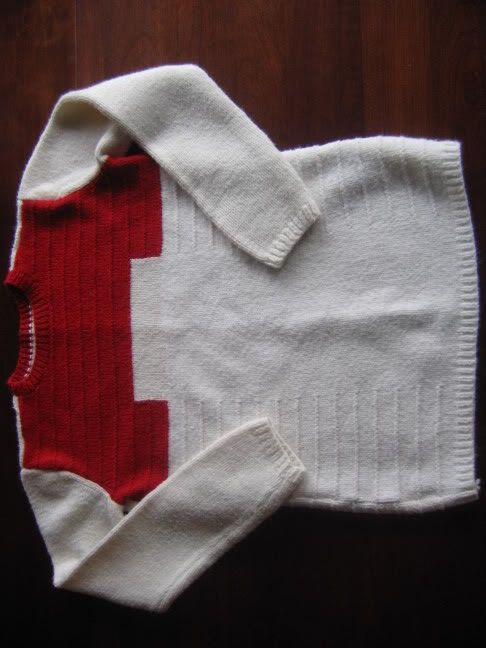
I keep this sweater as an example of what NOT to do on so many levels — it is full of oddities. And a bad dye lot.
A few years later I was again inspired and ready for a cabled Aran-inspired classic. Again, off I went to buy yarn (wool this time!!)…carefully checking the dye lot numbers. You can’t fool me twice!!

This sweater was a huge challenge for me. I did not know how to cable without a cable needle and there was cabling on every row. It was a slow go. I had used my first skein of yarn and had maybe 8-9 inches of the back done. I started my second skein and it was a completely different shade!! Very noticeable! But how could that be when I was so careful?
I had matched the color numbers, not the dye lots! The first skein I used was the ONLY skein that was different!! Aaaarrrggghhh!!!
Those two experiences have made me obsessed with dye lots AND with buying enough yarn. Add my tight knitting gauge and the fact that I am the size of Big Foot, and I need to buy a lot of yarn! There are times when I need 30-50% more yarn than called for in the pattern. This is a source of ongoing ‘tension’ with Sally and me since she is the size of a teacup.
The Present
When I bought the yarn for my Dale of Norway, I planned on making the size medium (as I said back then, their sizes are crazy big). BUT, I bought more yarn than called for for the largest size. The largest size said you needed 8 skeins (400 gms) of the off white. I bought 9. Hey, no problem!!
Except that I was looking at the chart for the Child Sizes! The adult large takes 600 gms (12 skeins). Yep. Way short. I contacted Kidsknits (Mary Ann Stephens — super nice and great to work with) and she of course did not have any left of a two-year old dye lot. The irony is that she had plenty of the yarn when I bought it two years ago.
Most stranded pieces are not problems for differing dye lots, but on this sweater, the white areas are so large and unbroken that a different dye lot could be very noticeable. I will just have to wait and see how far off the new dye lot is and if the knitting I have done so far can be salvaged. Starting this a third time is not an appealing option for me. 
So, I wait for the mail. Tick. Tock.

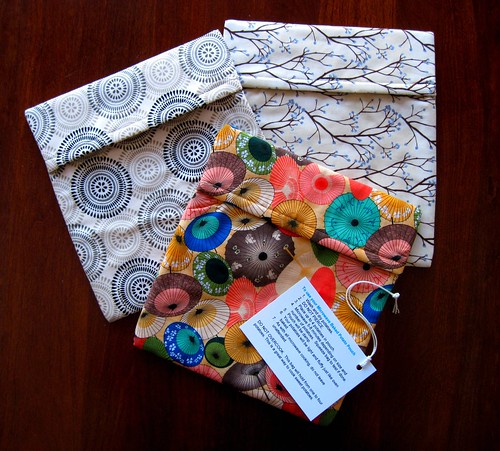






 The new yarn is noticeably lighter than the old. In comparison, the old dye lot looks dirty, so I am glad that the new yarn is lighter and not the reverse, but it does mean I will need to start over — though the first 6 rows can be salvaged. Bummer! Thanks for all of your sympathetic comments, but really, I have no one but myself to blame.

