Some projects get off to a rocky start. We sometimes toss them and sometimes we persevere. I had such a rocky start with this project that I really don’t know what possessed me to keep going! I guess I kept looking at the picture and seeing a sweater I could wear to work and with jeans – cute and comfy and stylish. Now that it is done, I will just say that it is wearable.
The sweater is Maestro by Heidi Kirrmaier. I love Heidi’s (aka PipiBird’s) designs — I have made several of them. A friend sent me a link to it, I had yarn in stash (Rowan Felted Tweed DK, in Avocado), and boom. I had cast on in less than an hour!! That was kind of a mistake. Had I let it simmer a while and looked at other people’s projects, this would be a non starter.
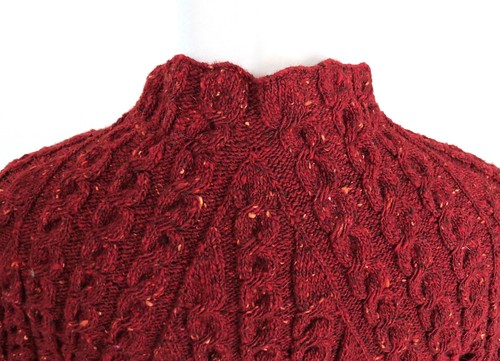
Red Flag #1: I misunderstood the directions and knit the entire collar incorrectly. Okay. My mistake. Start over.
Red Flag #2: There are weird “points” at the front neckline…I think they are there on purpose! I did not like them so I ripped out many inches of the body and re-worked the front neckline.
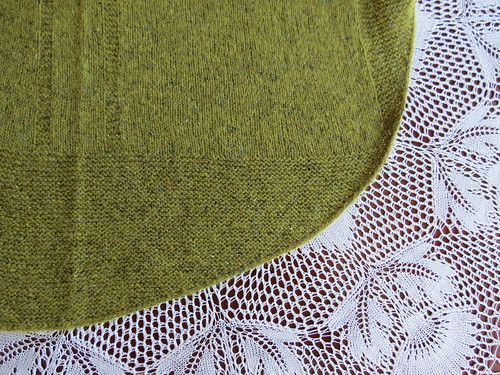
Red Flag #3: Not sure I liked the short rows along the bottom. I thought the look of the hem was cute, but worried that on me it would have a “droopy drawers” look, which I have already achieved to perfection! I re-worked the hem without short rows, but retained the cutaway front.
Red Flag #4: Because I had not looked at Ravelry projects, I failed to notice that the fronts just have too much fabric! I have nothing to fill it in, so it is ill fitting on me.
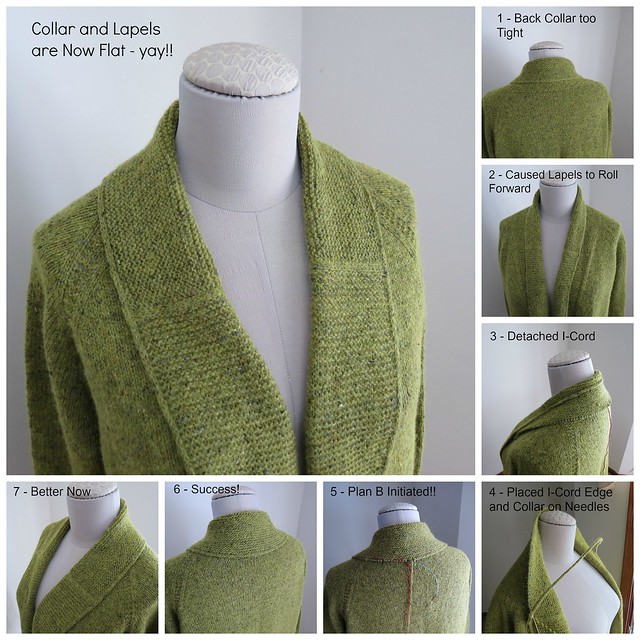
Red Flag #5: For a shawl collar to lay flat nicely, the back neck edge must have sufficient circumference. This did not. The outside edge of my collar was too tight, which caused the collar to pull up and the lapels to roll forward. I was constantly tugging at it and adjusting and wearing pins…annoying. So, I thought I would attempt what I thought would be an easy fix. Is there such a thing???
Note: The collar is started by knitting a length of i-cord and then picking up the collar sts along the i-cord.
Red Flag #6: Note to self — if you are going to cut your collar to detach the i-cord, be sure to cut the right thread. 
Red Flag #7: You can add length to free standing I-cord, but attaching the live sts back is not so easy!! I cut the sweater, placed the live collar sts on a needle, and then added 2-1/2 inches of extra length to the i-cord. I put a needle along the i-cord in the exact position of where I had picked up the sts. Plan A was to sew the live sts to the I-cord. Plan A failed. 
Plan B Initiated: I decided to do an i-cord bind off along the live collar sts. So, I cut off the old i-cord and started binding off, adding an additional row of i-cord every 4th st. Then I grafted the live i-cord sts to the other edge of the lapel. It worked. The pictures below show before, during and after!


Cutaway Front
The sweater can now be declared finished, as am I! After all that work and re-work, all I can say it that the sweater is “okay.” Sometimes you really have to wonder!
PS – Now that I sound like a complete Debbie Downer, the point of all this is that I really liked the look of the design and was willing to work to obtain it! Other people may have gotten there with much less hassle!! I am recounting MY experience and it may not apply to others.
PS2: Wore this to work yesterday and the collar laid flat like a dream!!!


