
For those of you who are interested, here is the method I used to create the square neckline for my Kauni Cardigan. I started by simply knitting the sweater as a tube all the way to the shoulder line, without any neck shaping whatsoever — I did follow Ruth’s pattern and do sleeve steeks, however. Norwegian sweaters are knit without any shaping and then the neck opening is cut out. I decided to do it this way because a) I was too lazy to figure it out ahead of time and b) I wanted the color changes to continue to the shoulder at the same rate as the body.
To determine the size of the neck opening, I placed a sweater that fit me nicely on Lettie (you could put it on yourself as well). I used tape to mark off the FINISHED neck opening.Â
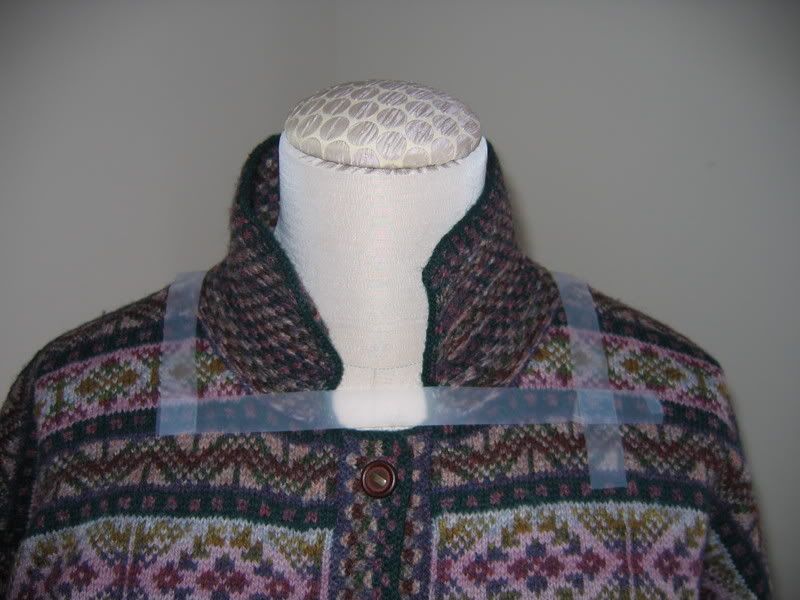
I did not want a big, sloppy neckline, so the tape is placed fairly close to the neck. The actual opening needed to be larger, of course. I anticipated that the final width of the bands would be 1-1/4 inches, so that additional width needed to be cut off the final neck opening.
In this picture, I am marking the actual size of the neck opening (not the cutting line, but the pick up line — hey, i used a pick up line!):
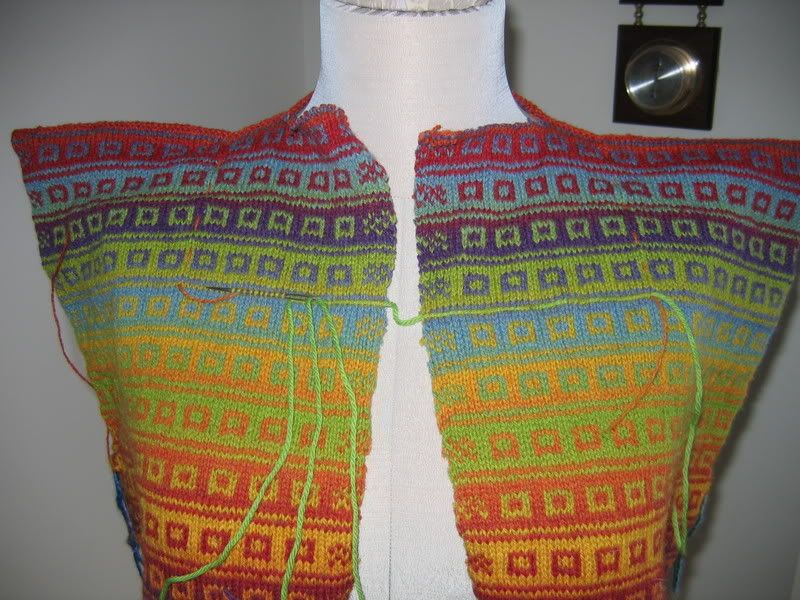
I wanted my shoulder pick up to occur between two squares and the back and fronts to be at the top of a finished pattern repeat. That made my choice pretty easy:
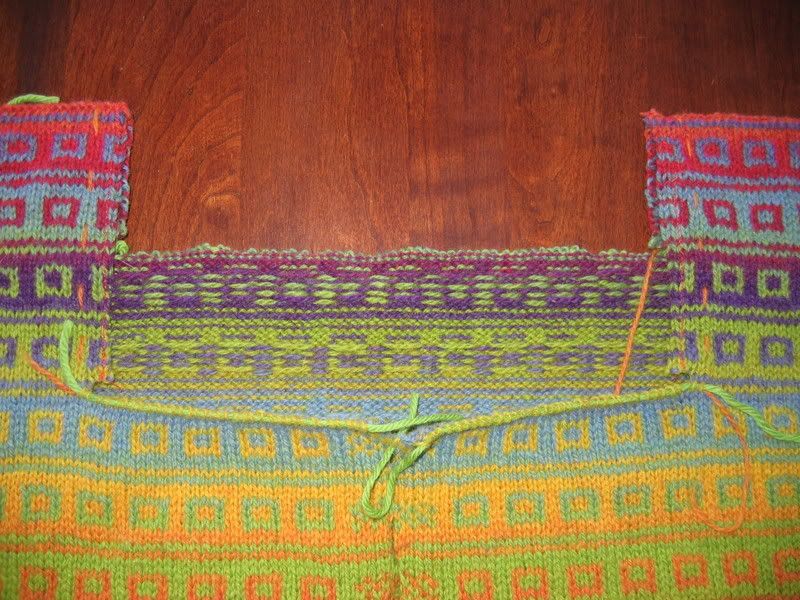
I placed the live front and back sts on yarn holders and machine stitched a “steek” on the edges that needed to be picked up. I cut as follows:
front
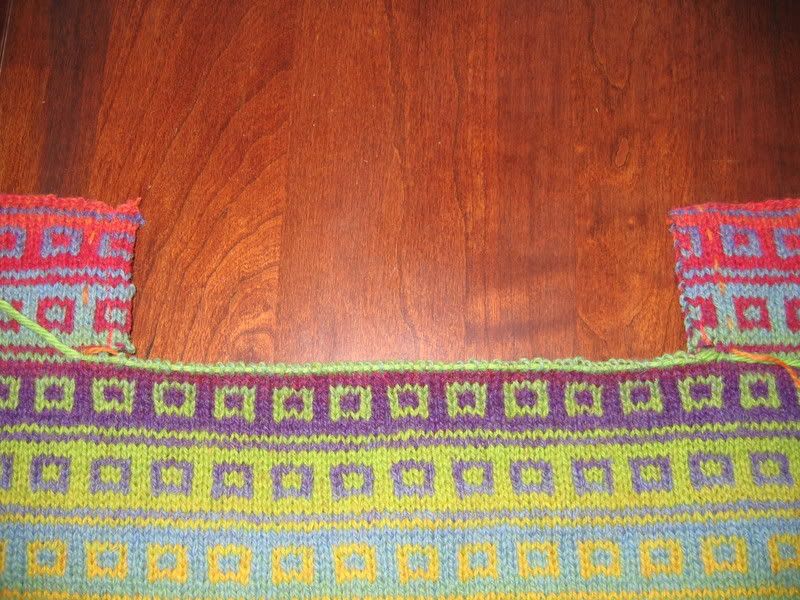
back
I had already knitted a huge gauge swatch in the garter stitch rib: the bottom hem of my sweater. Using that gauge, I picked up sts all around the opening, using a 60″ needle. The length of the needle made such a difference! I could easily knit and see what I was doing. I happened to own the needle already so that was great.
I picked up all the way around and then knit 1 row from the WS to create one garter ridge (it is red).
On the inside corners, I decreased a st on each side of a center st on every row. On the two outside corners, I increased a st on each side of a center st on every row.
Row 1 RS:Â k2(A), k2(B), alternating colors as set
Row 2 WS: k2(A), k2(B), matching colors as set
Row 3 RS:Â k2(B), k2(A), alternating colors as set
Row 4 WS: k2(B), k2(A), matching colors as set
On the 6th row of the rib (WS) I started my buttonholes by binding off 4 sts evenly spaced along the right side and then finished them up on the 7th row (RS) by casting on using the longtail method — 2 sts in color A and 2 sts in color b to match up with the check pattern.Â
After working 6 full check repeats (12 check rows), I knit one row and then bound off as to knit from the WS to create another garter ridge at the cast off edge.
I also went across the bottom edge of the front bands to finish it off.
So what were the problems?
- I think I should have picked up more sts. The length of the band seemed too short.
- Even though I thought the band would end up 1-1/4″, it was 1-1/2″ which looked too wide for my taste.
- I placed a buttonhole at the top and thought it would be centered, and it is too far to the left.
- I decided I did not like the first garter ridge (the red one).
- My corners were not pleasing to the eye.
- The neck openeing ended up smaller than what I had calculated
 Rather than reknit the band, I left it as is. I will learn to live with it ;)!!


I think it looks great and I might do it to Anne Boleyn!
Comment by Marina — December 17, 2007 @ 9:58 pm
Thank you for the tutorial! I think I may have to rip out the neckband of my poor Kauni again – it would only be the fifth time …
Comment by Hilde — December 18, 2007 @ 1:52 am
I LOVE the way you did the square neck! I am dying to do this sweater, but Dec. of 2007, I think the craze for Kauni yarn has passed. I can’t find anywhere to buy it. Do you know of somewhere?
Your work, BTW, is exquisite!
Comment by Anya — December 18, 2007 @ 2:12 pm
Thank you, Thank you!
I guess I will finally get it out and finish it with your help.
Comment by Tonia — December 18, 2007 @ 7:59 pm