It has been a whirlwind of a week, filled with lots of family activities. Here is hoping that yours is wonderful!!

With Best Wishes for the Holiday Season
Susan and Sally Rainey
The Rainey Sisters

It has been a whirlwind of a week, filled with lots of family activities. Here is hoping that yours is wonderful!!
With Best Wishes for the Holiday Season
Susan and Sally Rainey
The Rainey Sisters
Thank you for the wonderful congratulatory words about both my daughter’s wedding AND our anniversary. John and I went out to dinner and enjoyed a lovely evening!
Is it too late to make something small and cute? I thought I would mention a fun little gift to make for the knitters in your lives. These cute ornaments are made from small amounts of lace- and sockweight yarn from your stash. The Emergency Yarn Ornament is a fun way to connect to your knitting peeps. I made about 28 of these this year and enjoyed making them very much.

Clear glass or plastic balls are available at craft stores. The little paper slip says, “In case of knitting emergency, Break Glass!!” There are miniature skeins of yarn and mini-knitting needles made from toothpicks inside.
On a completely different note. If you enjoy knitting hats and, like Bartholomew Cubbins, have too many for the heads in your immediate circle, Hats for the Homeless is accepting donations well into the winter season.
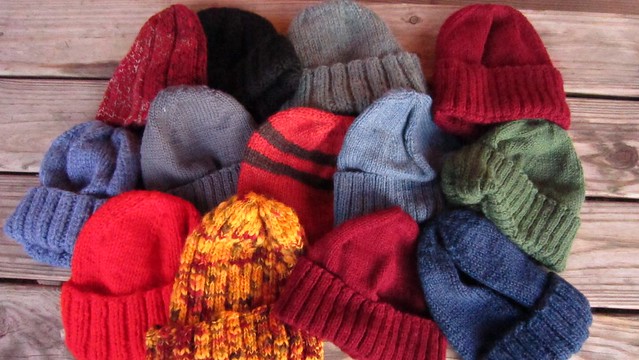
Hats knit by the lovely and generous Elizabeth D!!
Are you ready for the holidays yet? Me neither… 🙁
Who are those youngsters in the ginormous glasses?
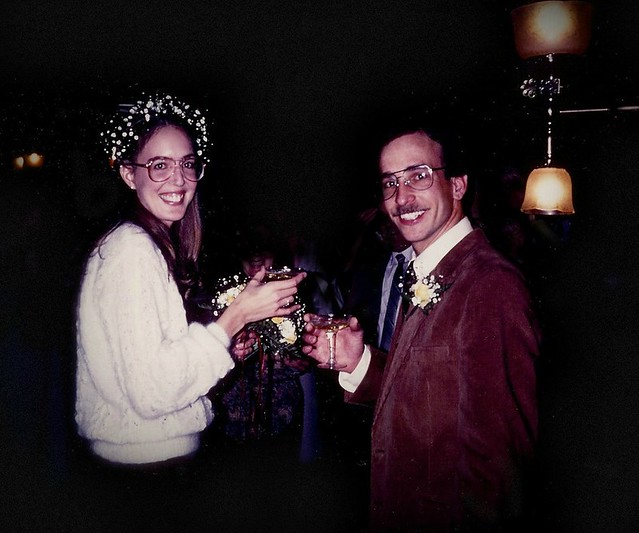
Thirty years ago on December 18, this happy looking couple tied the knot. Still in love and together after all these years! At our daughter’s wedding, sister Surly asked the DJ to play “our song” – the song that my friend Elaine sang as I walked into the ceremony (can you can share youtube videos without ads?).
John, you still make me laugh, you still surprise me, and there is no one else that I could picture myself with. Let’s try for 50!!
A special friend sent me a few nice pictures:
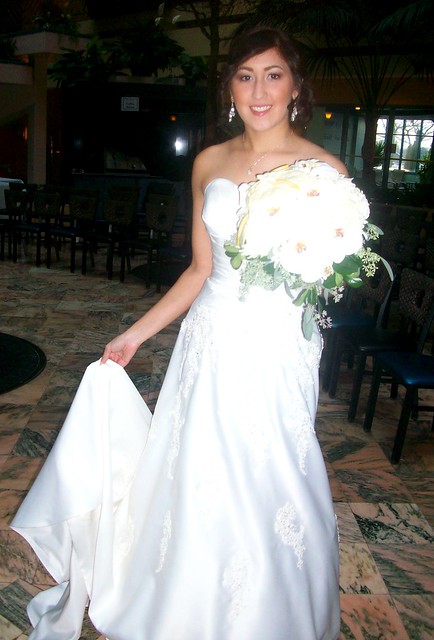
Laura
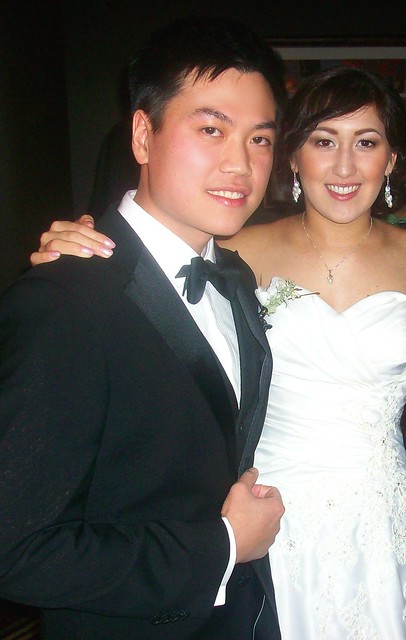
Long and Laura — Newlyweds!
These are from a cell phone, so I hope that the professional ones look even better!
My lovely daughter is now married. We had a magical day that I will never forget. I would love to share a picture or two with you, but I don’t have any. Really. With all the cameras and phones going all night long, you would think someone would have a decent picture! We did have two professional photographers floating around so I am hoping they will come through for me!!
Thank you for all of your well wishes. I will spare you the details of the two flat tires and the dress that did not fit!! I want only to remember the warm feelings of the day shared with family, friends, and my new family.
I am taking a break from the sweat shop -er- the festivities to provide an update. Remember when I said I was going to make a bolero like this for my daughter’s wedding?
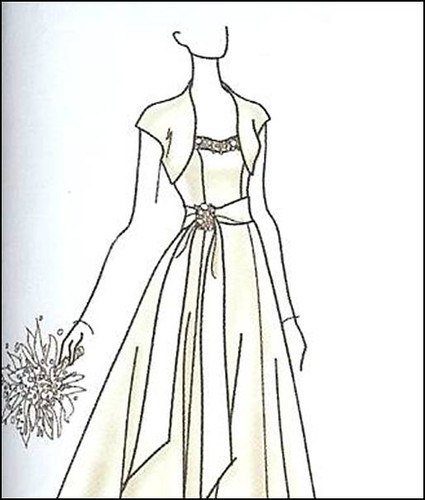
Well. I tried a prototype and it was an abysmal failure. I was going to give it another go when I had a brainstorm. Would the seamstress doing the alterations on Laura’s dress make the bolero for us and if so, what would she charge?
The answers: yes and NOTHING!!
I am serious. She said she would “throw it in!” Well, you can imagine the nano second it took for me to decide what to do. I figured the worse case scenario would be that it would not turn out, but we would still be out nothing. We already knew mine would not turn out!
So, today I went to pick up the dress and bolero. The bridesmaids are also wearing boleros that Laura liked so much, she bought one for herself. She took said bolero to the seamstress for sizing purposes. Here is the result:
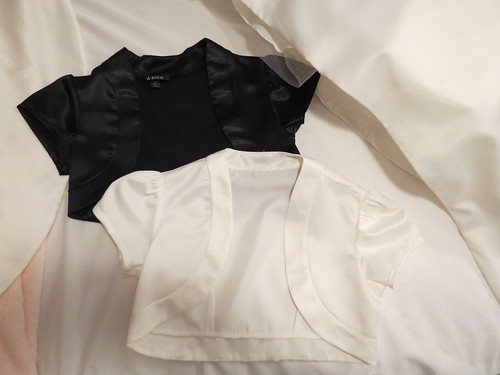
It is identical! It looks exactly like the shrugs the bridesmaids will be wearing, in the same fabric as her wedding dress. Like we planned it all along! Nothing like that ever happens to me. I feel like I won the lottery!
Back to the sweat shop festivities…
Sally and I will be off line for a few days. My daughter’s wedding is this coming Saturday and it is amazing how much there is to do. Like clean my house. Ugh. Double ugh. We will connect next week!!
We me luck 🙂 !
Hello, all! This time of year is very busy, and 2012 is no different…except for the added stress of a wedding IN ONE WEEK! My DD (the knitworthy one) also asked me to knit a scarf for her new FIL, AND make a wall hanging for a special family member. Okay. I can do that. I love you. I have time. I have nothing else to do………h e l p m e
If I had known that I was knitting a scarf, I never would have taken on the following “small” project for myself:
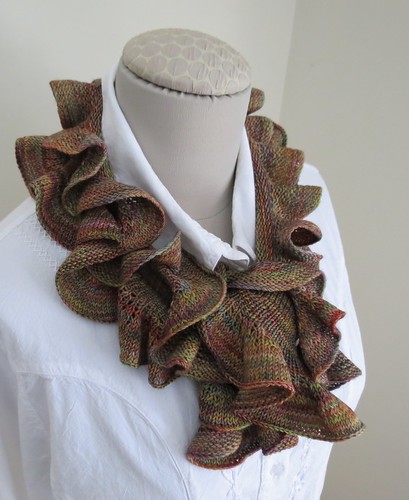
It is Barb’s Koigu Ruffle Scarf from Churchmouse. I used Malabrigo Sock in new color Arco Iris (440 yds/100 grams, 100% merino). I only used 2/3 of the skein even though I lengthened the scarf by 81 sts (per pattern).
The pattern recommends “ironing” the scarf — and I did. Just like you would iron a blouse! This photo shows the pressed and unpressed difference:

The pattern has you cast on over 600 sts, but I had to cast on >700. They suggest using a cable cast on so you don’t need to calculate the length of the tail. My ‘go to’ cast on is the cable so no problem there. BUT, if I was to do this again, I would use the crochet hook provisional cast on method, but with the real yarn, not waste yarn. That way, both edges would match. I really like the chain along the cast off edge and wish that both edges looked the same.
I think this is super cute and a nice mindless knitting project to carry along.
PS: Woody Woodpecker was spotted off our deck:
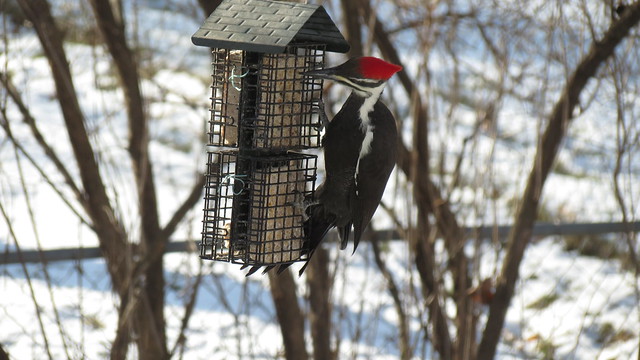
Cute!!
PS2: Lisle asked to see the two edges side by side to compare:
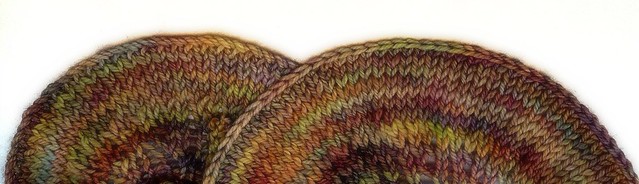
The left side is the cable cast on and on the right is the bind off.
Okay. The post is not knitting. It is about knitting! I have a few FOs lurking in the background and will share one with you today.
First, though, I sure hope you had a nice holiday weekend. Mine was very relaxing. Except for when we discovered that the wedding invitations had the wrong address. (Thank goodness it was my daughter’s fault, and not mine!). With two weeks to go we had time to send out a correction. Thank goodness we discovered it now! What if we got to the day of the wedding and no one showed up!?!?!
Okay, back to knitting. I just finished a large cowl/wrap: Moose River by Steven West. My friends and I spotted it at StevenBe’s, tried it on and loved it. What I really like about it is the fact that it is made with reversible cables. Fun to knit!
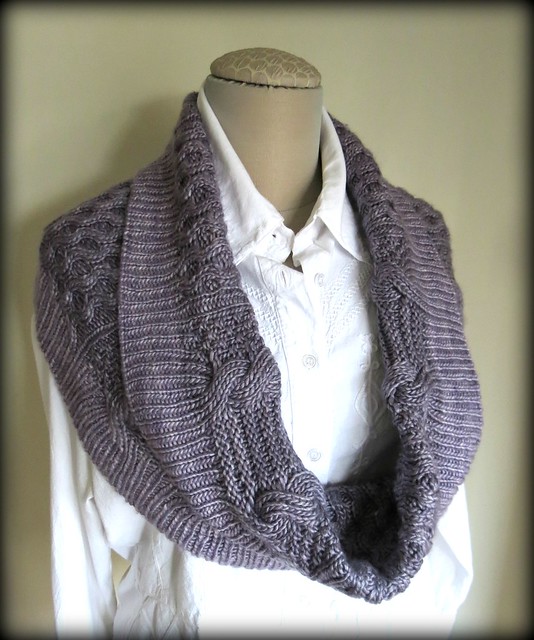
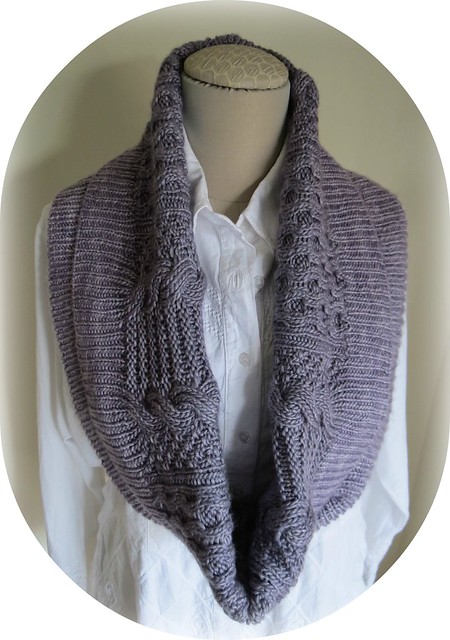
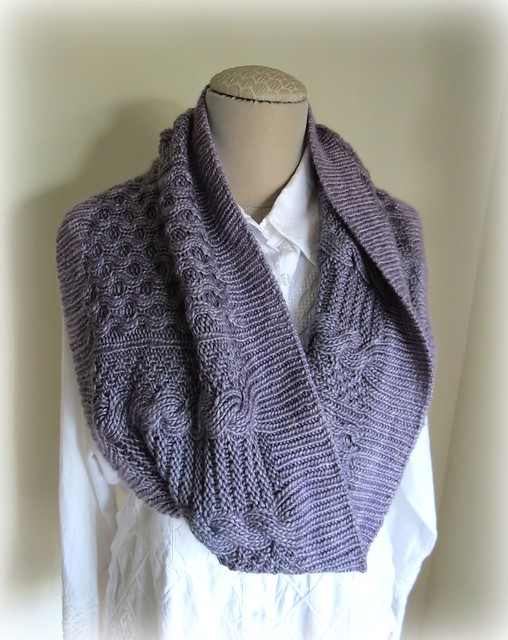
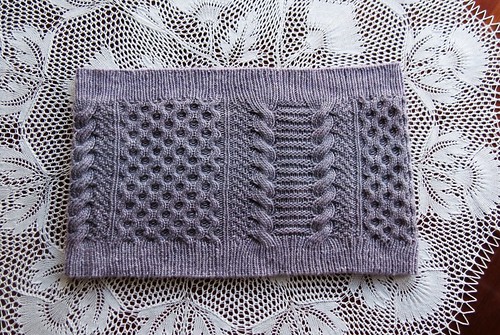
I used the same yarn as Steven’s sample: Wexford Merino Silk from Three Irish Girls (240 yds/115 gms, 60% silk, 40% merino), in two colorways: Little Black Raincloud and Heathered Lilac (for the top and bottom ribbing). Butter soft and beautiful.
The pattern recommends using a tubular cast on and bind off. No problem, thought I. I can do a beautiful tubular cast on in 1×1 ribbing. The bind off was another story! I used the technique described in Principles of Knitting, but should have done a bit of double knitting first (as shown here). With almost 300 sts, you need to use multiple pieces of yarn, and there isn’t a good place to hide the ends with a reversible edge. I may take off the last couple of rounds and try it again.
So, I got it all done and then couldn’t figure out how to wear the darn thing! My friend, Mary, finished hers at the same time and L.O.V.E.S. it. I think if I just wear it it will grow on me!. But after spending $125 for the yarn and the book, and two weeks of knitting, I would expect to be a little more enthused!
PS from Susan: Purrl Gurrl mentioned this in her comment, “There are two knitted items I find have no purpose at all, cowls and sock yarn shawlettes. I find both annoying to wear and neither do anything to actually keep the wearer warm. Both are wastes of time and good yarn in my view.”
I love cowls and sock yarn shawls! I wear them quite frequently. I find them both warm and fashionable. Scarves and shawlettes add color and style to my extremely drab wardrobe…and are being worn by Muggles everywhere, including my two fashionista daughters!
Wishing you all a wonderful Thanksgiving with family and friends!
Yes, we have used this picture before!!! 🙂
PS from Susan — What was I thinking? I ate way-way-way too much. 🙁


Powered by WordPress


