
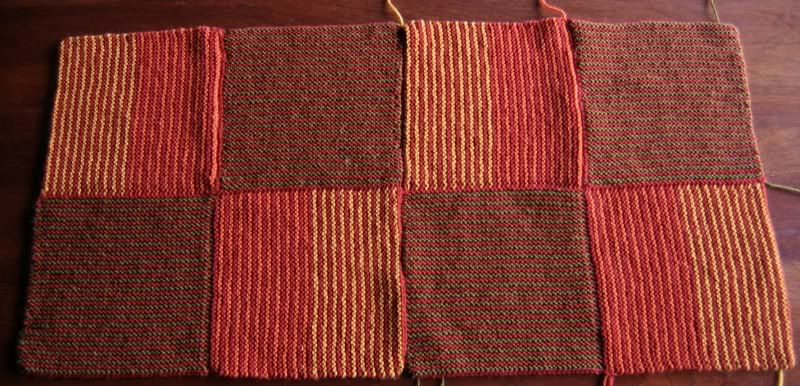
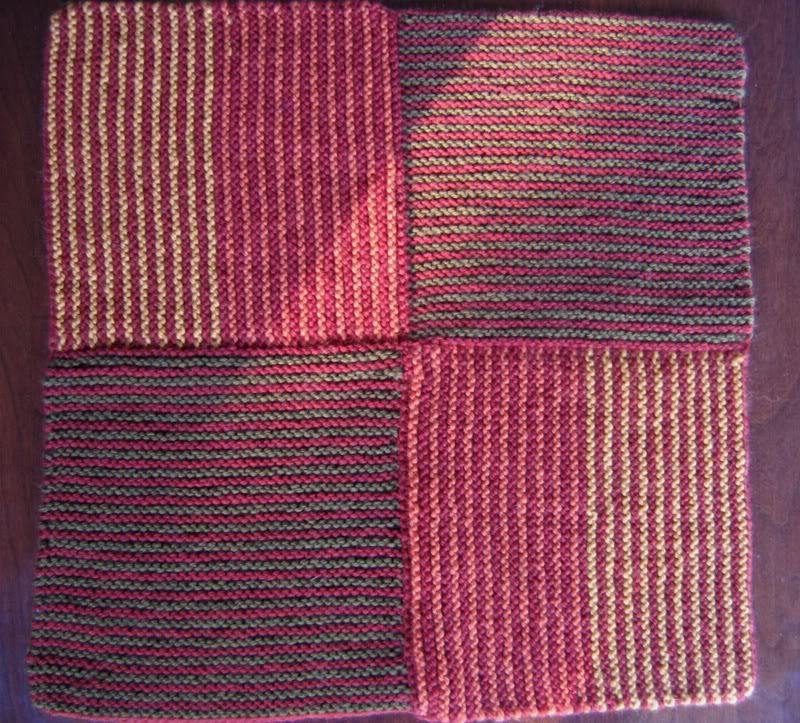
Finally I am at the point on the Mitered Tote where it all comes together. When I last left you, I was finishing up the “scarf” section. It wrapped up quickly (as garter stitch scarves tend to do ;)) and then it was on to the construction phase. I chronicled this phase in photos so you could see how nicely the bag comes together (and because it is too hard to describe in words alone).
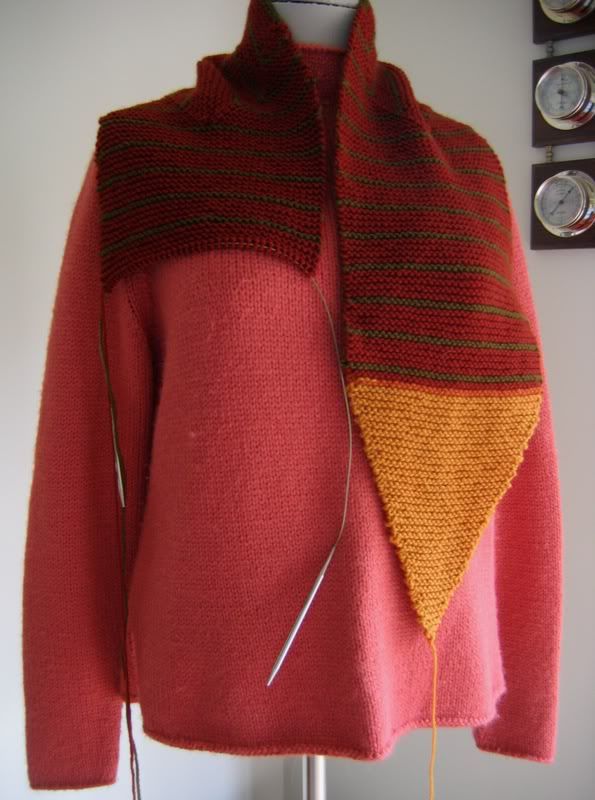
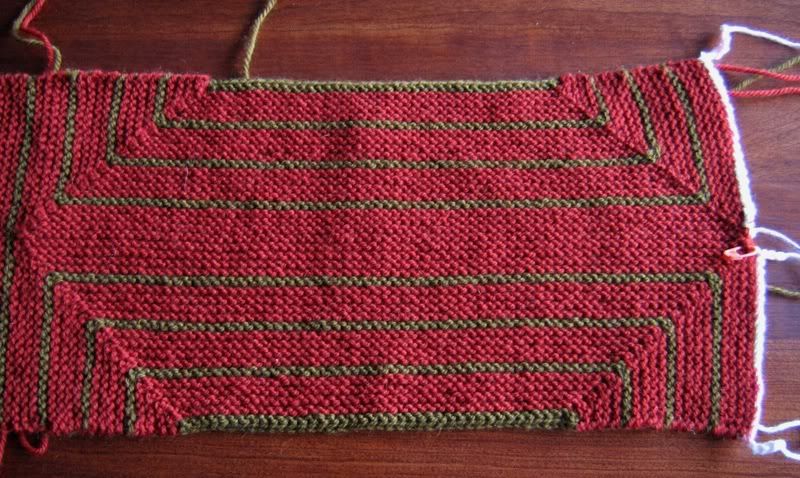
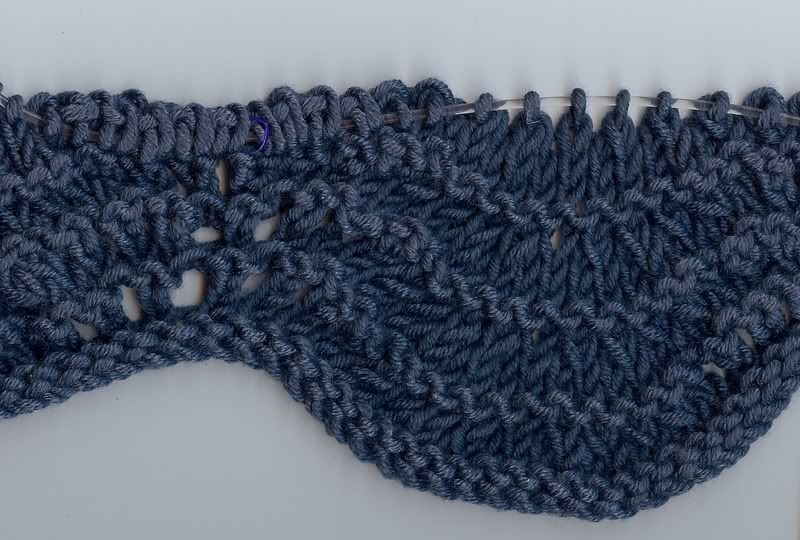
First, pick up 240 sts around three sides of one of the large squares:
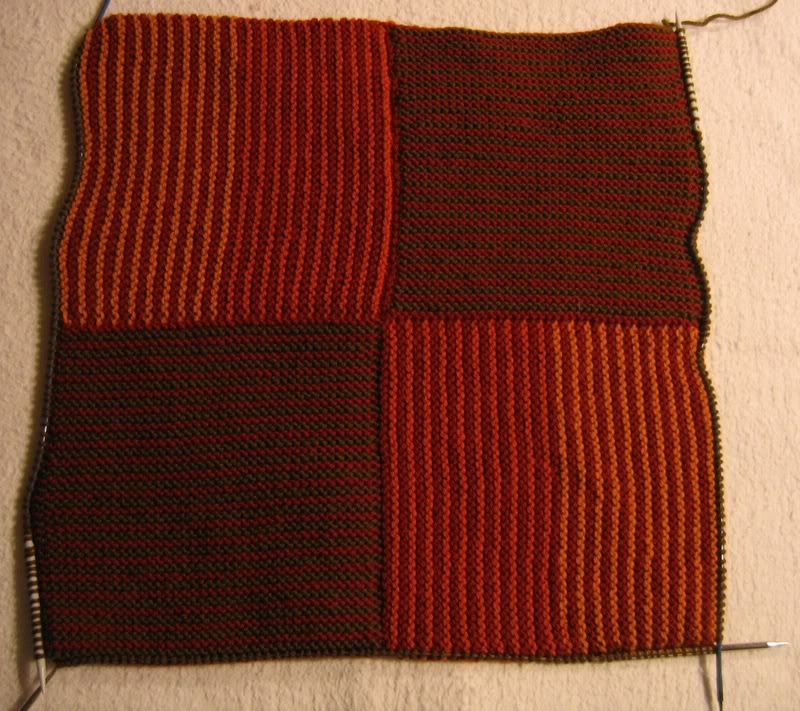
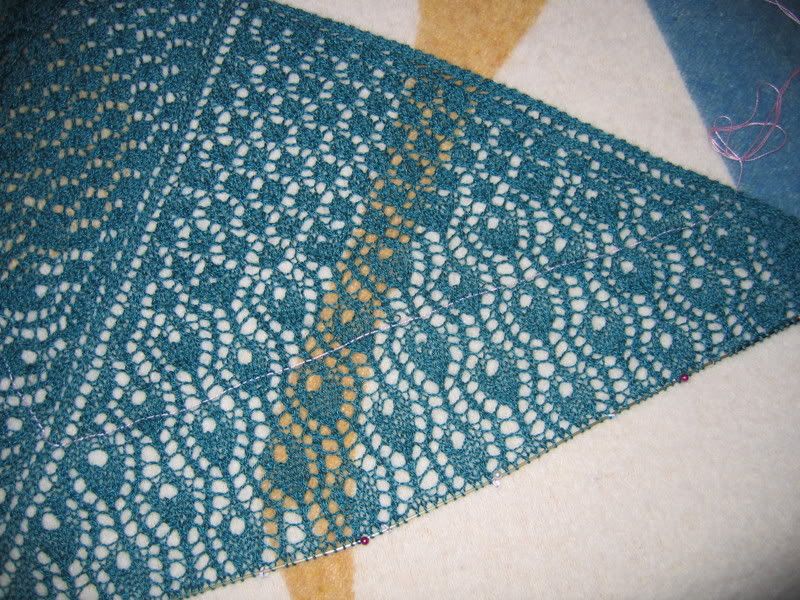
The “crinkled” edge is due to the fact that I am using Denise needles for some of the pick ups — I didn’t have enough Size 8 needles, and it takes a lot for this project.
Then pick up 240 sts along one edge of the “scarf”:
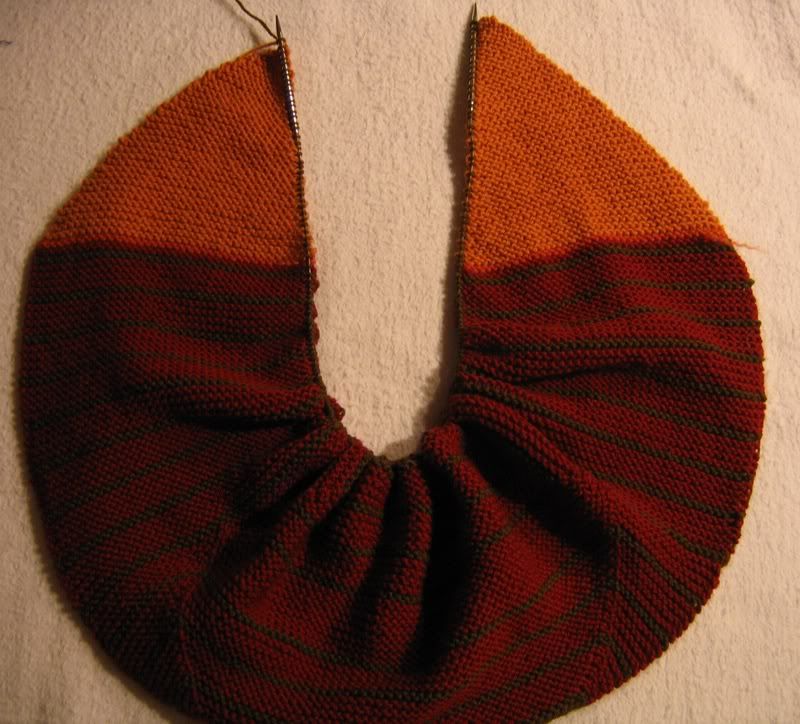
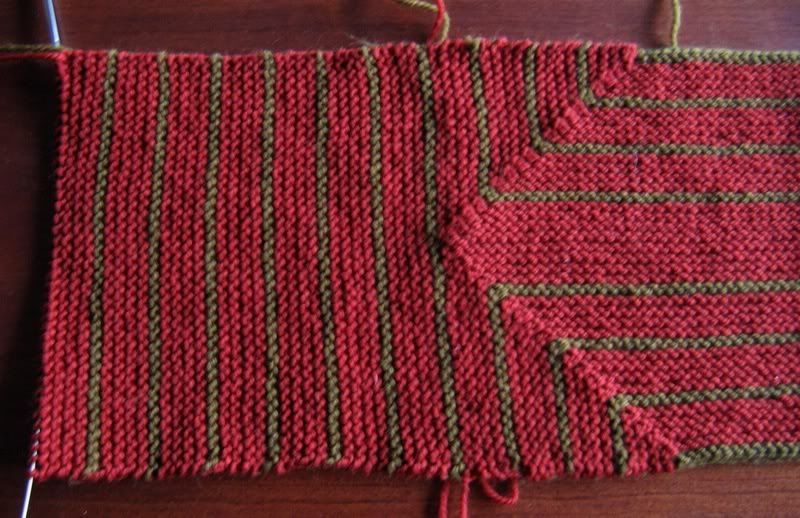
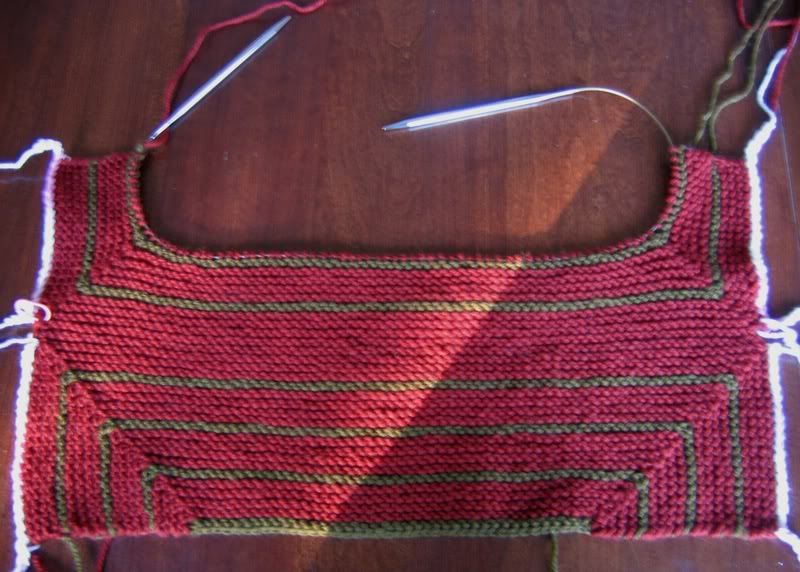
Join the pieces together using a 3-needle bind off (I used a Size 9 needle to do the bind off):
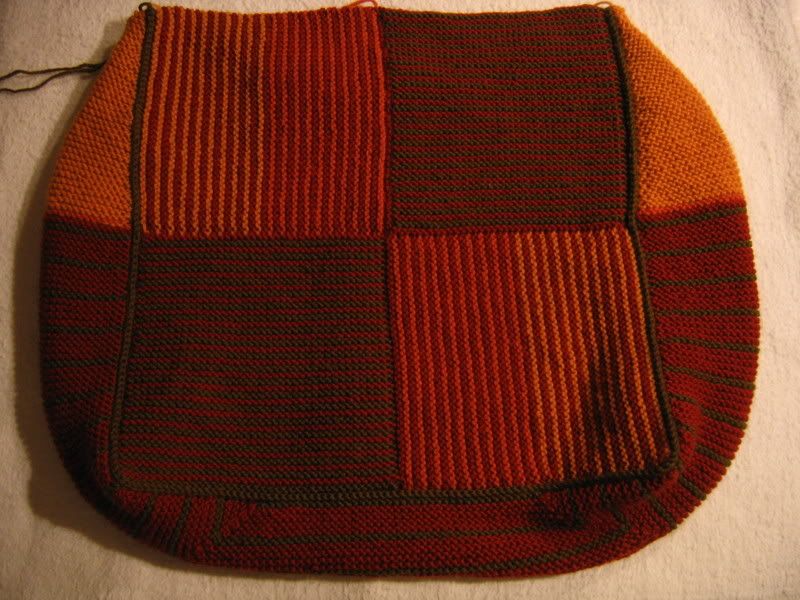
It gets a very nice-looking edge — similar to piping. Here’s the bottom, where the true miter is hiding:
Repeat for the other side and voila:
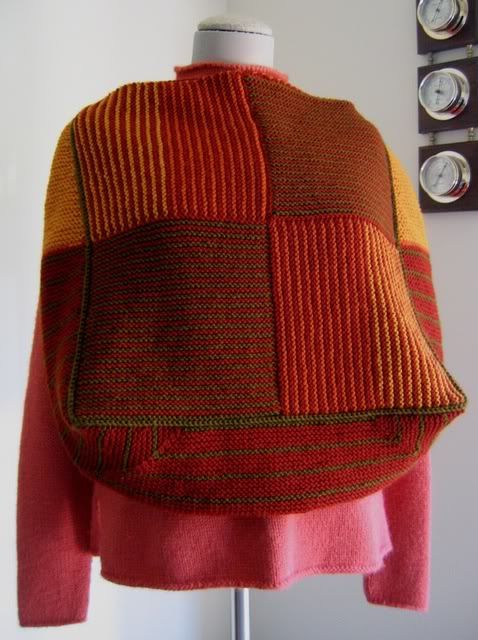
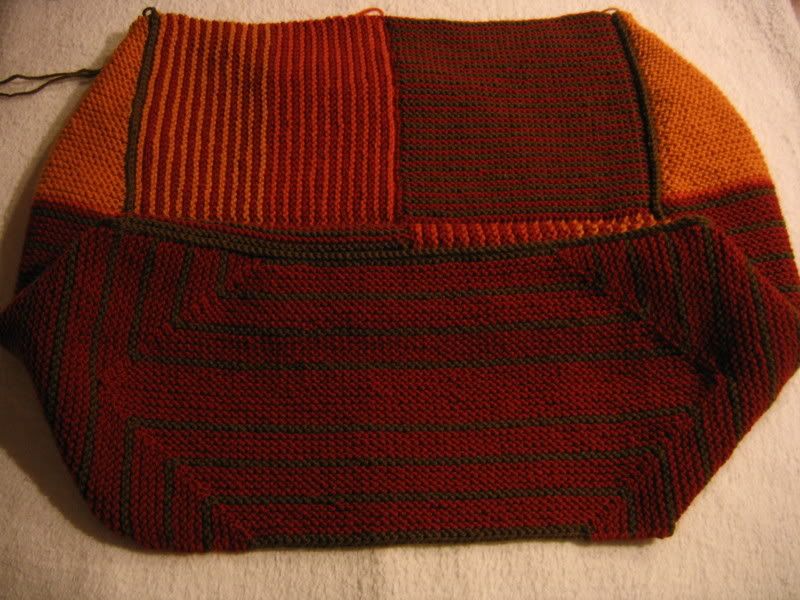
You’ve got one honkin’ big bag!!!!! Whoa! That’s a stash-keeper if I ever saw one.
The next step: the top edge. The pattern says to pick up and bind off, but I chose to do an i-cord bind off to give it a clean and bit heftier appearance:

Now it’s time to knit the strap. A fellow knitter who made this bag suggested that I make the strap wider to be more in scale with the bag’s girth — and I agree tote-ally. I have been playing around with different ways to make it wider and finally came up with a plan that I hope works — we’ll see in the next installment of the “Mitered Tote Turns” ;)! I’ll knit like Seabiscuit between loads of laundry today…
I hope to be able to felt this puppy this week. Woo Hoo!


 Bless me Father, for…….
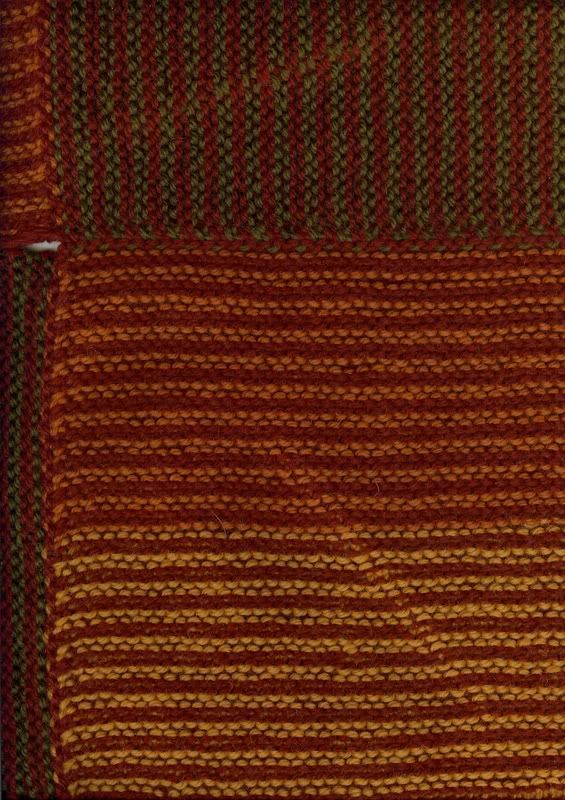


