We are having fun with Baby Cables and Big Ones Too from Ravelry! Susan has to take the credit for finding this gem of a pattern, but Sally jumped right in and has almost completed hers. It helped that she already had the exact yarn called for in the pattern (Jaeger Extra Fine Merino — a discontinued yarn; she had several colors to choose from, no less 😉 ). Susan struggled to find just the right yarn and actually ended up knitting the entire yoke twice.
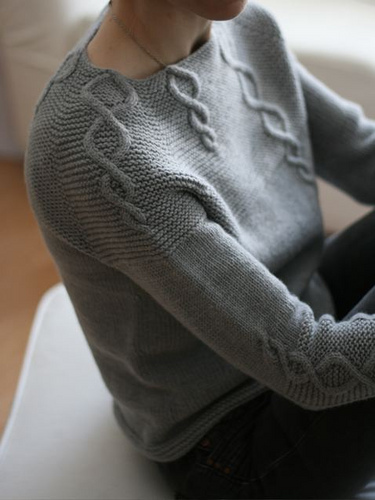
The designer of this creative and elegant pullover is Suvi from Finland. The pattern sells for $6 on Ravelry and may be available via her blog (?). The instructions are in English.
About the Sweater
The sweater is knit from the top down in the round. There are no seams. The yoke is done in garter and changes to stockinette for the body and sleeves. The sleeves are also knit in the round and have some garter stitch as well.
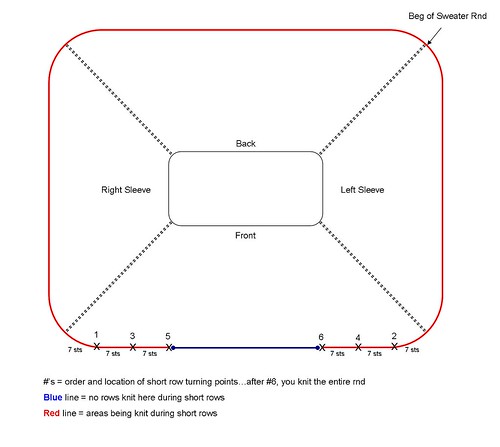
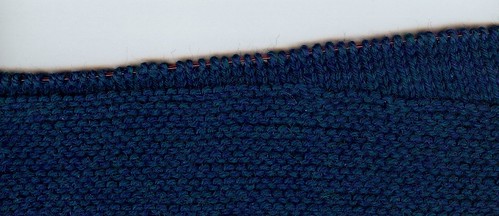
We did change a little bit of the pattern. Suvi instructs you to do the increases by using the backward loop cast on method on the purl rounds of the garter stitch yoke. We did our increases on the knit rounds of the garter because it is less visible. We also added some short rows to lower the front neckline in relation to the back. Susan also added 2 sts to the sleeve WITH the cable to account for the compression on that sleeve vs the non-cabled sleeve (and then decreased 2 sts once the cable was complete). There are no other accommodations for cables made in the pattern.
A word about the lowly “backward loop” increase method. Both of us have found uses for this lowly and unappreciated “make one” method recently. It is the increase of choice for garter stitch because it is virtually invisible when done on the right side of the garter fabric. It also works well when you need to make a lot of increases across a relatively small number of stitches: it does not draw yarn length from the nearby stitches, which can cause puckering. Who knew? This is an increase that people typically write off as the ugly stepchild, but it really does have some great uses.
Sally’s Baby Cables
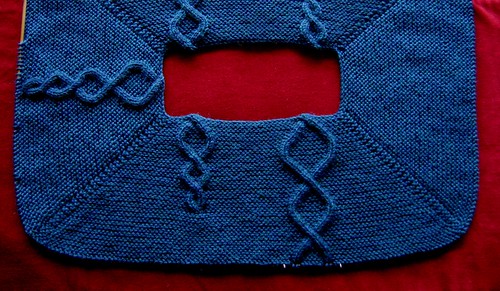
This is a relatively fast knit. I started knitting it a few days before Thanksgiving, and only have one sleeve left to knit. I could have made it in light grey, but I have 20 skeins of Extra Fine Merino in that color and decided to save it for something that required more yarn. So, you ask, what color did I use? Well, if you are a long time reader of this blog you can probably make a good guess: red. It’s Jaeger’s EF Merino in Shade 920. Here are some shots of its progress from “necklace” to almost sweater. (The first photo is very true to color.)


When I was at the point shown in the above photo, I decided it was too large in the body. It’s hard to tell in that picture, but trust me. When I tried it on, it looked like an A-line sweater despite the waist decreases I had done. So I ripped it back to the bottom of the cable that extends into the stockinette, accelerated my decreases, and added a few more. It fits me (and Lucy) much better now).


Susan’s Baby Cables
After a false start with stash yarn (don’t ask!), I started over with a beautiful shade of Cascade 220. The weight called for is DK (5.5 sts/in) but Cascade 220 worsted can be knit at a tighter gauge, especially the Heathers which run a bit lighter weight.
 I could not get a good picture — the color cannot be captured — but here is a better shot of the yarn:
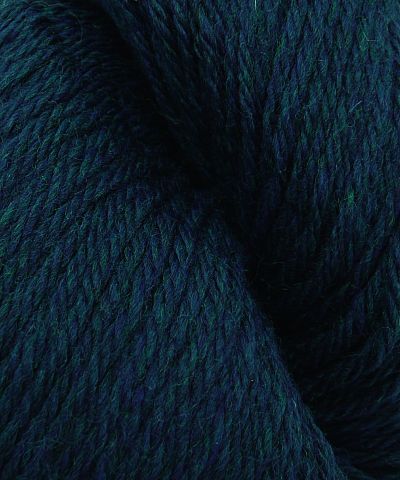
Cascade 220 Heathers, Color #4009
I am not as far along as Surly, but I hope to make some progress this weekend. There are people on Ravelry who finished this in 5 days! Not me, I’m afraid 🙁 . Also, my sweater will not end up as shaped as Sally’s — I may even keep a straight profile. We will see when we get there!

 I hate being sick, and I hate the guilt of missing work and getting so far behind! My knitting is suffering, too, because I slept so much yesterday!